
Engineering Intelligent Platforms for the AI-Driven Enterprise.
Techpearl builds intelligent enterprise platforms that transform complex operational systems into automated, data-driven workflows using AI, cloud architecture, and advanced software engineering.
BRANDS IMPACTED


What We Do. Three pillars that drive enterprise transformation.
Technology & Architecture Leadership
AI Engineering in Production
Platform & Product Engineering
AI Systems We Build. Delivered through custom AI solutions, copilots, and AI agents.
Intelligent Agents
What we deliver at this layer
Document Intelligence
AI agents that extract data, validate information, generate proposals, and analyse business documents — removing manual review from your workflows.
Conversational Intelligence
Ask your enterprise systems questions in plain language. Get data, reports, and answers without opening a dashboard or calling IT.
Knowledge Assistants
AI that searches your internal knowledge base — documents, wikis, SOPs — and surfaces accurate answers instantly with source references.
Data Integration
Where intelligence connects to your data
Intelligent Workflows
AI-powered automation that reduces manual steps, routes decisions to the right people, and triggers actions across your existing systems.
Smart Manufacturing
Demand forecasting, machine shop scheduling, and IoT-connected defect detection — AI embedded into production floor operations.
Core Systems
AI embedded into what you already run
HR Listening
LLM-powered sentiment analysis and feedback loops that turn employee voice into structured insights for managers and leadership.
AI Copilots
Applications that work alongside your users — guiding decisions, surfacing information, and automating repetitive tasks inside the tools they already use.
Platforms We Build. End-to-end engineering for complex enterprise systems.
AI-Powered Commerce Platforms
Intelligent e-commerce platforms with personalization and recommendation engines.
See more →Enterprise Conversational AI
AI copilots and chat systems that transform how employees interact with enterprise software.
See more →People & HR Intelligence Platforms
AI-enabled talent acquisition, performance analytics, and workforce planning systems.
See more →Industry 4.0 Smart Operations Platforms
IoT-connected manufacturing and operational intelligence platforms.
See more →Marketplace & Ecosystem Platforms
Multi-tenant platforms connecting suppliers, buyers, and partners in digital marketplaces.
See more →SaaS Platform Modernization
Cloud-native transformation of legacy systems into scalable, API-first platforms.
See more →Pearlbot: The Execution Engine for Intelligent Orchestration
Finance AI Agent
Statement analyzed → Risk signals extracted → Loan workflow updated
What our clients say
"They deliver on time and within budget. Their strength is knowing what architecture to pursue and why. They care about the success of every single one of our projects, even their founders."
Soushiant Zanganehpour
CEO & Founder, Swae
"I have known Arathi and Senthil for nearly 25 years. They are known to deliver high quality software on time."
Luis Talavera
Ex-Microsoft, Serial Entrepreneur
"Arathi and Sen's patience and expert guidance taught me the essence of good practices in software development today. They chose Node before it was cool, always delivering on time and with excellent quality. There are no more capable hands that I know of."
Ulysse Sabbag
CEO & Founder, Columize
Our Approach. From assessment to production.
Strategic Assessment
Architecture review and capability mapping
Week 1
Platform Design
System architecture and integration planning
Weeks 2–3
AI Engineering
Agent development and model training
Weeks 4–10
Production Deployment
Enterprise rollout and continuous optimization
Week 11+
Strategic Assessment
Architecture review and capability mapping
Week 1
Platform Design
System architecture and integration planning
Weeks 2–3
AI Engineering
Agent development and model training
Weeks 4–10
Production Deployment
Enterprise rollout and continuous optimization
Week 11+
The backbone of enterprise intelligence.
Reduction in manual processes
Through intelligent automation and workflow agents
Faster decision cycles
Enabled by real-time analytics and AI insights
Improved forecast accuracy
Using machine learning demand models
Operational availability
With autonomous AI agents running continuously
Industries We Have Served.
Retail & E-commerce
Demand forecasting, inventory management, and personalized experiences
View Case Study →HR & People
AI listening platforms, workforce analytics, and employee engagement tools that turn feedback into action.
View Case Study →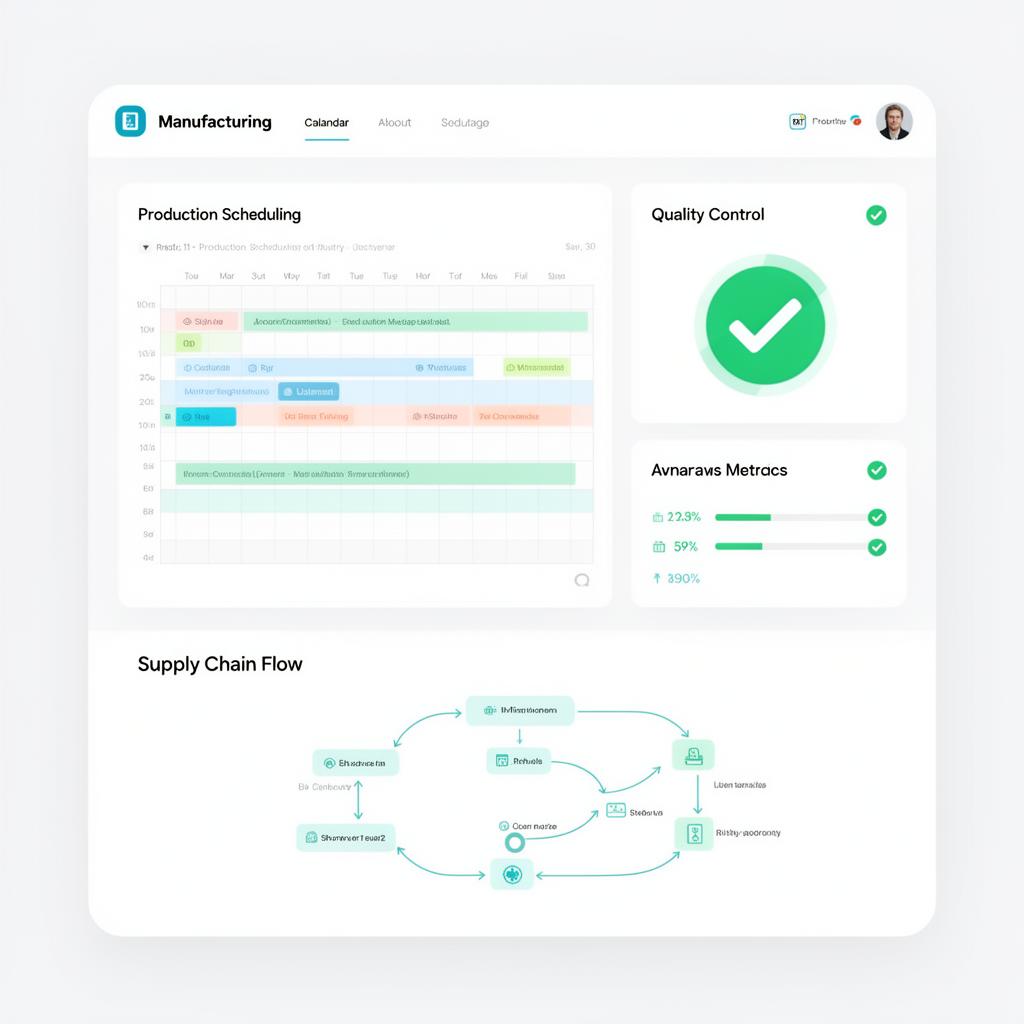
Let's Build Your Platform. Ready to transform?
Start with a strategic assessment and we'll map the path to your intelligent enterprise platform.
Next Steps
Strategic assessment workshop
Week 1
Architecture design session
Week 2-3
Pilot platform development
Week 4-8
We use cookies to improve your experience.