Vite and React: A Speedy Duo for Modern Web Development
Introduction: The Need for Speed in Web Development In the fast-paced world of web development, speed and efficiency are paramount. To meet these demands, we

In my opinion, using AWS Amplify provides one of the fastest ways to get a new web application from idea to prototype on AWS. AWS Amplify is a framework for building modern applications, with a toolchain for easily adding services like authentication (via Amazon Cognito) or storage (via Amazon Simple Storage Service (S3)) or GraphQL APIs, all via a command-line interface. AWS Amplify Console makes continuous deployment and hosting for your modern web apps easy. It supports hosting the frontend and backend assets for single page app (SPA) frameworks including React, Angular, Vue.js, Ionic, and Ember. Amplify Console hosting provides a git-based workflow for hosting fullstack serverless web apps with continuous deployment.
By using Amplify Console, you can take advantage of features like continuous deployment, instant cache invalidation, custom redirects, and simple configuration of custom domains.
After choosing Amplify Console for hosting, I can pick manual deployment or continuous deployment using a git-based workflow.
First, I’m going to set up continuous deployment so that changes to our git repo will trigger a build and deploy.
If you are starting from the “All apps” page, choose “New app, Host web app” in the upper right corner.


From the “All apps” page, choose “New app, Host web app” in the upper right corner.

On the “Host your web app” page, choose “Deploy without Git provider”. Then, choose “Continue”.


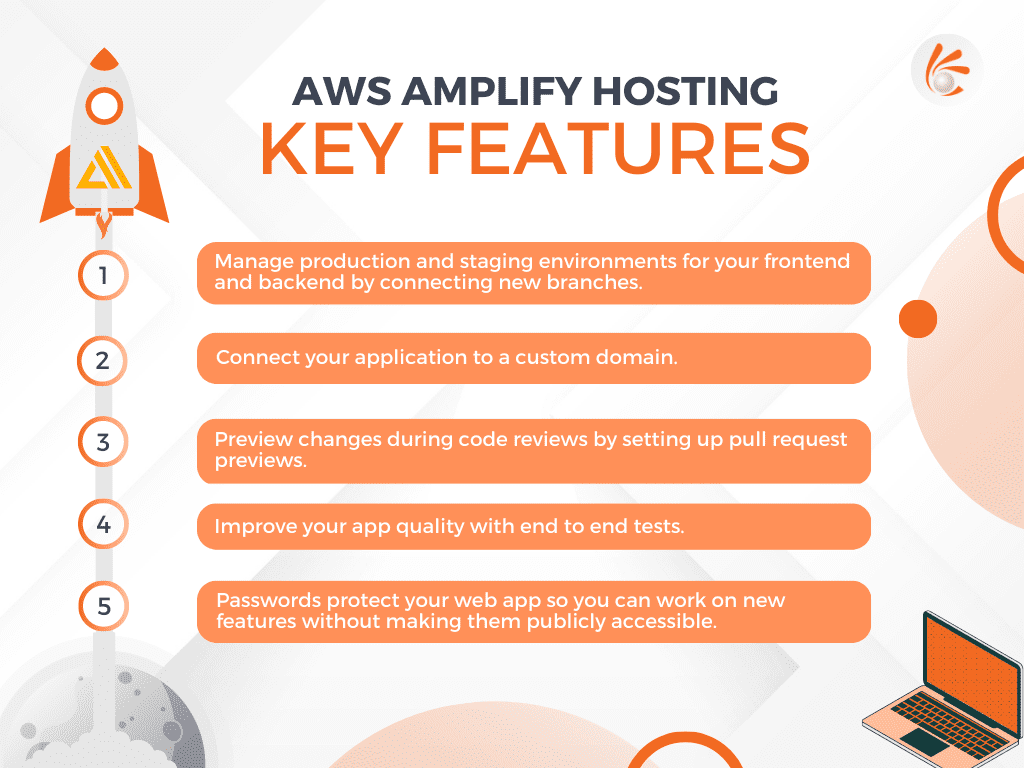
The Amplify Console is designed to work with feature branches and GitFlow workflows. The Amplify Console leverages Git branches to create new deployments every time a developer connects a new branch in their repository. After connecting your first branch, you can create a new feature branch deployment by adding a branch as follows:
Your app now has two deployments available at https://main.appid.amplifyapp.com and https://dev.appid.amplifyapp.com. This may vary from team-to-team, but typically the main branch (formerly referred to as the master branch) tracks release code and is your production branch. The develop branch is used as an integration branch to test new features. This way beta testers can test unreleased features on the develop branch deployment, without affecting any of the production end users on the main branch deployment.
In this walkthrough, you learn how to continuously build, deploy, and host a modern web app. Modern web apps include Single Page App (SPA) frameworks (for example, React, Angular, or Vue).
To get started, go to your created app and click on the “Connect branch” button to the right corner.
This will take you to review for a final check with the “Save and Deploy” option. Review all of your settings to ensure everything is set up correctly. Choose Save and deploy to deploy your web app to a global content delivery network (CDN). Your front end build typically takes 1 to 2 minutes but can vary based on size of the app.
Access the build logs screen by selecting a progress indicator on the branch tile. A build has the following stages:

Techpearl’s professionals expertise in Amazon Web Services. Click here to find out how we can cutomise the best Web apps for you.

Introduction: The Need for Speed in Web Development In the fast-paced world of web development, speed and efficiency are paramount. To meet these demands, we

Introduction The power of conversational AI has become a transformational force in a world where technology continues to alter how people live, work, and communicate.

Introduction In the ever-evolving landscape of web development, the concept of reusability has become a cornerstone for efficiency and productivity. Web components have emerged as
Copyrights © 2024 All Rights Reserved by Techpearl Software Pvt Ltd.
| Cookie | Duration | Description |
|---|---|---|
| cookielawinfo-checkbox-analytics | 11 months | This cookie is set by GDPR Cookie Consent plugin. The cookie is used to store the user consent for the cookies in the category "Analytics". |
| cookielawinfo-checkbox-functional | 11 months | The cookie is set by GDPR cookie consent to record the user consent for the cookies in the category "Functional". |
| cookielawinfo-checkbox-necessary | 11 months | This cookie is set by GDPR Cookie Consent plugin. The cookies is used to store the user consent for the cookies in the category "Necessary". |
| cookielawinfo-checkbox-others | 11 months | This cookie is set by GDPR Cookie Consent plugin. The cookie is used to store the user consent for the cookies in the category "Other. |
| cookielawinfo-checkbox-performance | 11 months | This cookie is set by GDPR Cookie Consent plugin. The cookie is used to store the user consent for the cookies in the category "Performance". |
| viewed_cookie_policy | 11 months | The cookie is set by the GDPR Cookie Consent plugin and is used to store whether or not user has consented to the use of cookies. It does not store any personal data. |